General Lens Installation Instructions*
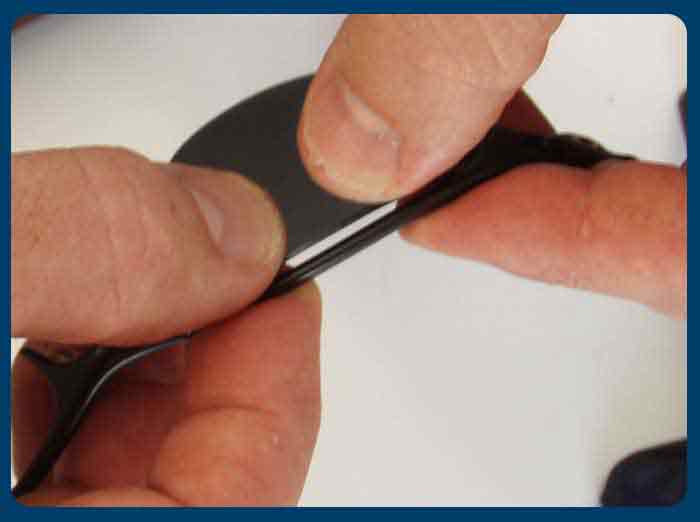
- Loosen, do not remove the screws, usually on the underside of your frames that enclose the rim holding your lenses in place.
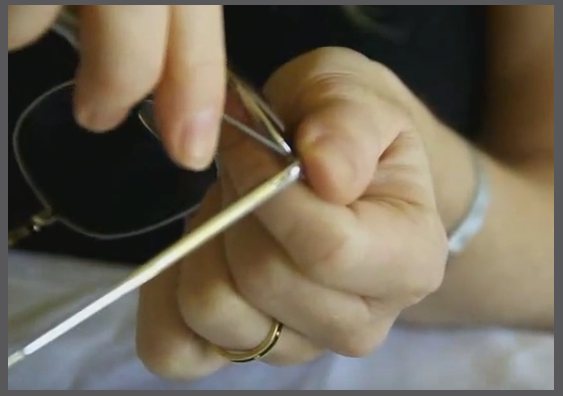
- 1 and 1/2 turns is usually enough to remove and replace the new lenses.
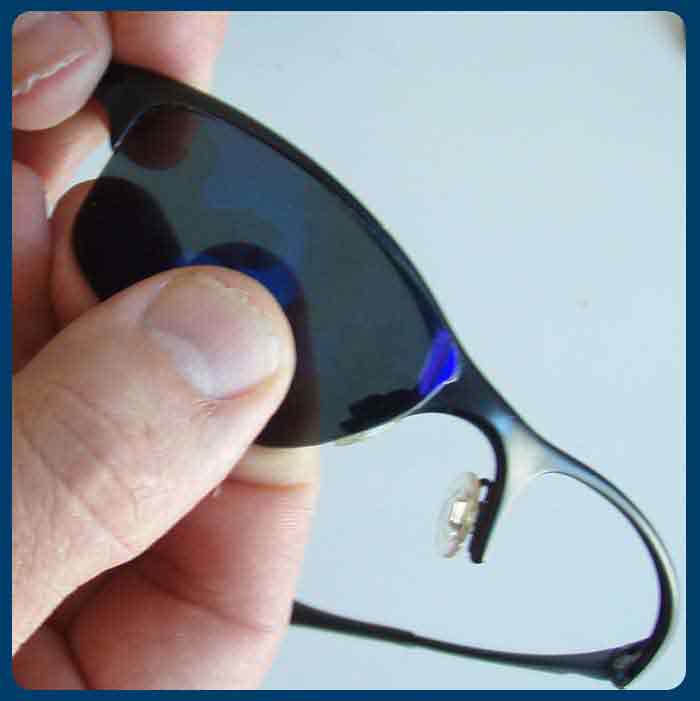
- Remove the lens out of the front of the sunglasses. Push from behind gently until they pop out. If they do not come out easily further loosen the screw 1 more turn.
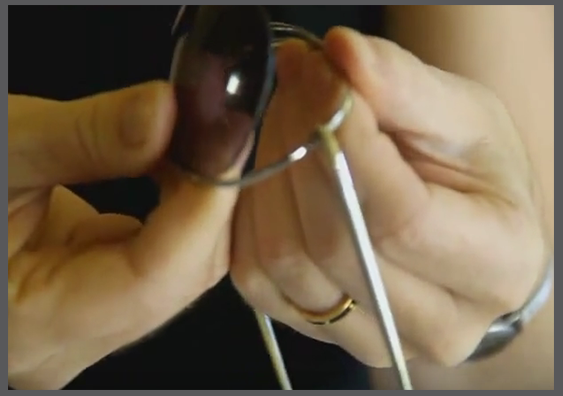
- Once removed, insert the new lenses. They may be tighter than the original so work on getting the arm side in first then the top to the nose and leave the bottom nose are for last.
- Push the last remaining portion of the lens on the bottom nose side into the rim. You may need to bend the lens 1-2mm to get it under the rim.
- Pay careful attention not to scrape the edge of the lens on the rim so pulling out rim while pushing lens into place helps minimize this.
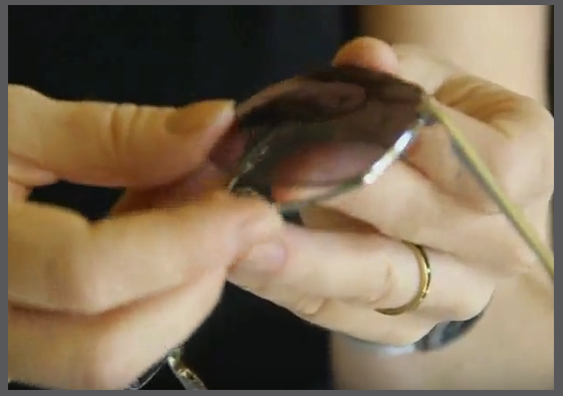
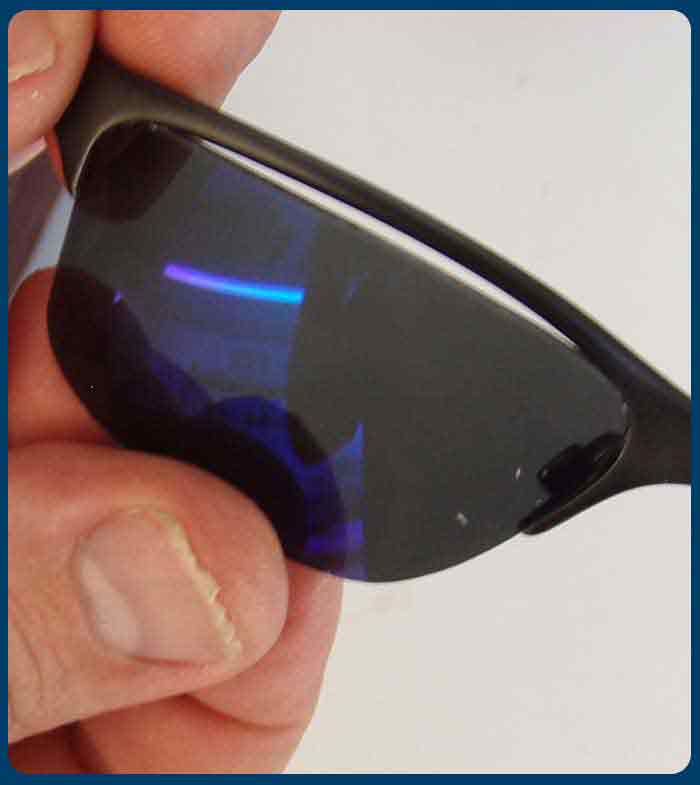
- Check all areas of lens to ensure they are in the rim before tightening.
- Retighten the screw.
- If available we suggest a small dab of clear nail polish on the screw head to hold it in place. It's not required but works well and allows for future removal of screw if required.
** please note: We always recommend working on a towel set on a table top. Avoid hard surfaces prevents screws from bouncing.
Plastic Framed Sunglasses
Lenses go in and out from the front, not the back.
- Start with the widest top to bottom side of the lens. This is usually the outside, temple portion of the frame and insert the lens firmly into the rim groove.
- Lay down the rest of the lens on the frame and as much as the lens into place so only the nose portion is left.
- Holding the top and bottom rim with the thumb and index finger of both hands use your thumbs to push down the lens and snap it into the groove. This can take a bit of effort and if necessary slightly bending the lens and the frame to get them together is fine.
- Check all grooves and lens line. The lens should be in the groove in all portions of the rim.
- Bend your glasses slightly/twist the rim to ensure the lens stays firmly in place.
Please follow the instructions below:
- Soak your frames in hot tap water or water. Add a drop of dish soap to the water and let your frames soak for 20 seconds.
- Remove, quickly pat dry, and try to remove/install the lenses again.
- Repeat above process a couple of times in the same water. The frames will get gradually looser as they slowly heat up.
- As mentioned above, put the tallest top to bottom lens edge in the frame first and push around until only nose or outside temple is left. Push the nose/alternate edge in firmly and it should "snap" into place for a perfect fit. Do NOT go crazy with your pushing as you could break the frame but be firm.
- If you are still struggling to get the lenses in, measure your current lens from top to bottom and across and compare it to the new ones. Don't overlay them as the angles make this inaccurate.
- Email or call The Sunglass Fix to get your exact dimensions to ensure we didn't make a mistake. If the lenses are close to your originals in shape and size then please follow directions below. If the lenses are not within 1 mm then stop and contact The Sunglass Fix. It's possible a different model came out in your area or you have a different design than we stock.
If you are still struggling to remove or get the lenses in please contact us. We'll help!! Thanks
Clip-in Frames
Step 1: Install the clip on the outside lens into the arm side leaving the nose portion out.
Step 2: Bend lens slightly to get the nose portion into nose slot
Step 3: Push the lens in along the top portion of the rim so it snaps into place ensuring the nose and arm clips remain in their slots
Step 4: Inspect Lens and ensure no front bevels are showing along rim and that the lens fits in the rim area along the nose and arm portions in their designated slots. If so you are done. If they aren't try to push and adjust the lenses into position or carefully remove the lens and start over at step 1